Two ways Tracklified organizes spending: automatic categories (on line items, assigned by AI) and labels (on receipts, applied manually or by AI).
Categories (on line items)
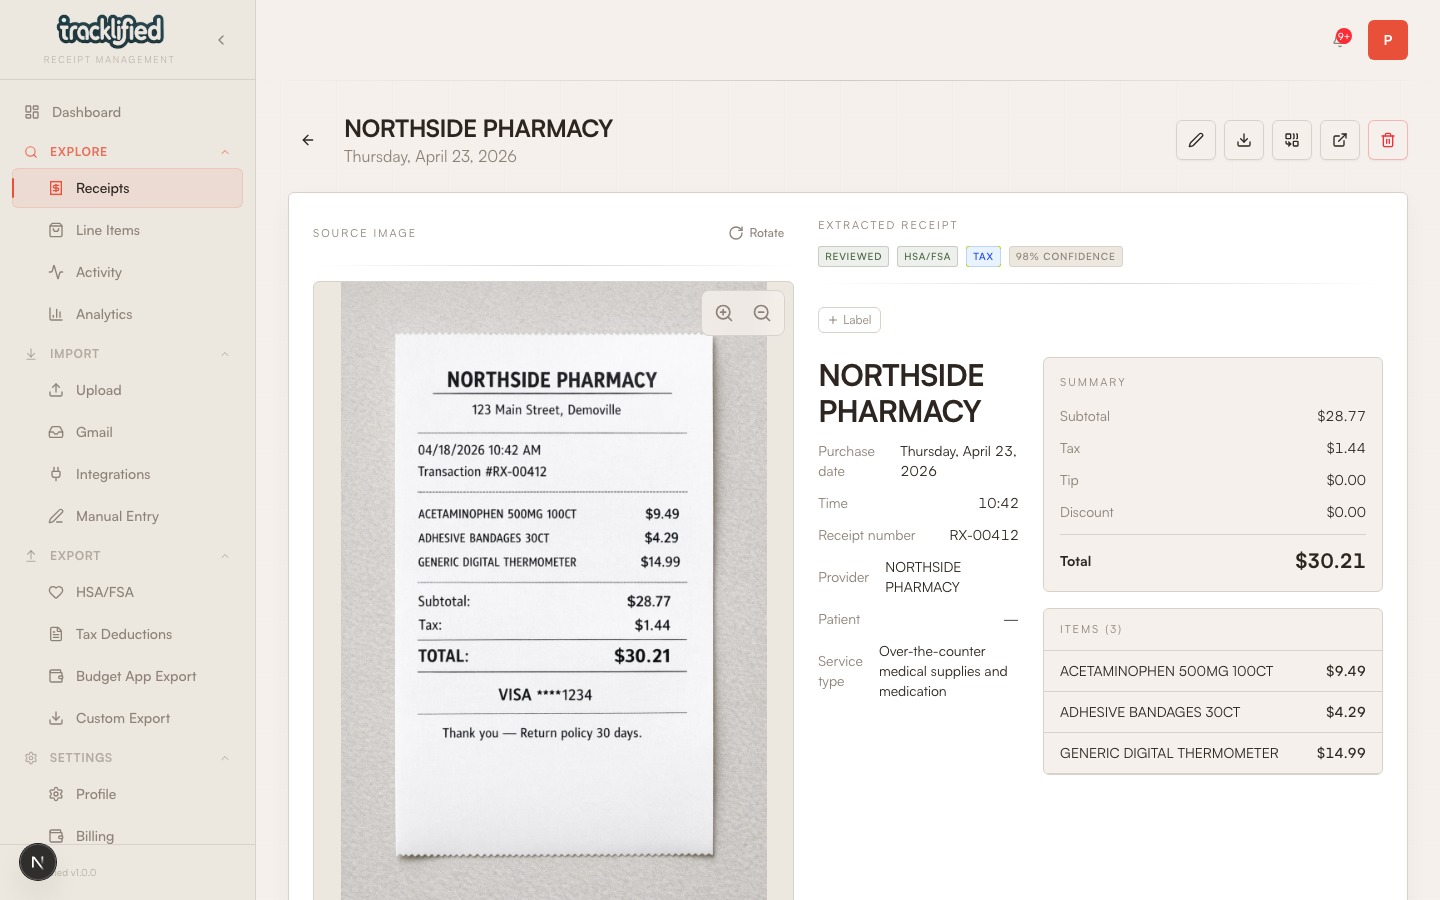
When the AI extracts a receipt, line items get a category string. Categories live on line items, not the receipt itself.
The receipts page exposes a quick-filter with six common categories:
- Food
- Grocery
- Medical
- Electronics
- Clothing
- Transportation
Under the hood, the category field is free-form text that the AI fills in, so individual items may have category names outside that short list.
Labels (on receipts)
Labels are receipt-level tags. Two come built in:
- HSA/FSA — medical spend eligible for reimbursement (see HSA and FSA)
- Tax — receipts with a supported deduction category (see Tax deductions)
You can apply labels manually from the receipt detail view. Tracklified also auto-applies HSA/FSA and Tax when the AI marks a receipt eligible, and removes them when the AI concludes a receipt isn't eligible. You can always override the AI's choice manually.
Labels are multi-value: one receipt can carry HSA/FSA, Tax, and your own custom labels simultaneously.
Custom labels
Create labels for anything: trips, projects, reimbursables from your employer. Apply and remove them from the receipt detail view. Filter the receipts list by label to pull everything tagged that way.
Tax label, specifically
The Tax label auto-applies when the AI classifies a receipt into one of Tracklified's supported deduction categories: Medical, Charitable, Business, Education, Childcare, or Home Office. It's not limited to business expenses. See Tax deductions for the flow.