You can add a receipt three ways. Pick whichever fits the moment.
Snap a photo
On the iOS or Android app, tap Upload and point your camera at the receipt. Tracklified reads it, pulls out the merchant, date, line items, taxes, and total, and saves it to your account.
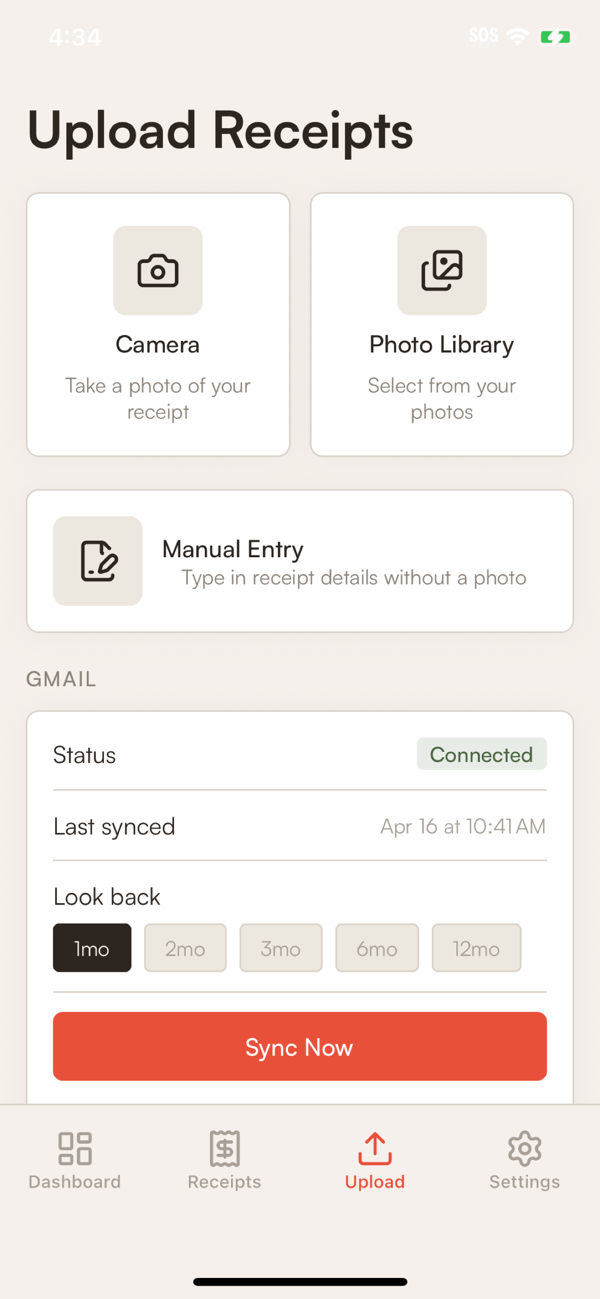
Works on crumpled paper, thermal rolls, faded ink, most of the hard cases. If the AI gets something wrong, tap the receipt and edit the field.
Forward from email
When a store emails you a receipt, forward it to your Tracklified email address. We extract the data and file it automatically. No app open, no clicks.
Find your address on the Integrations page. It looks like abc123@tracklified.com.
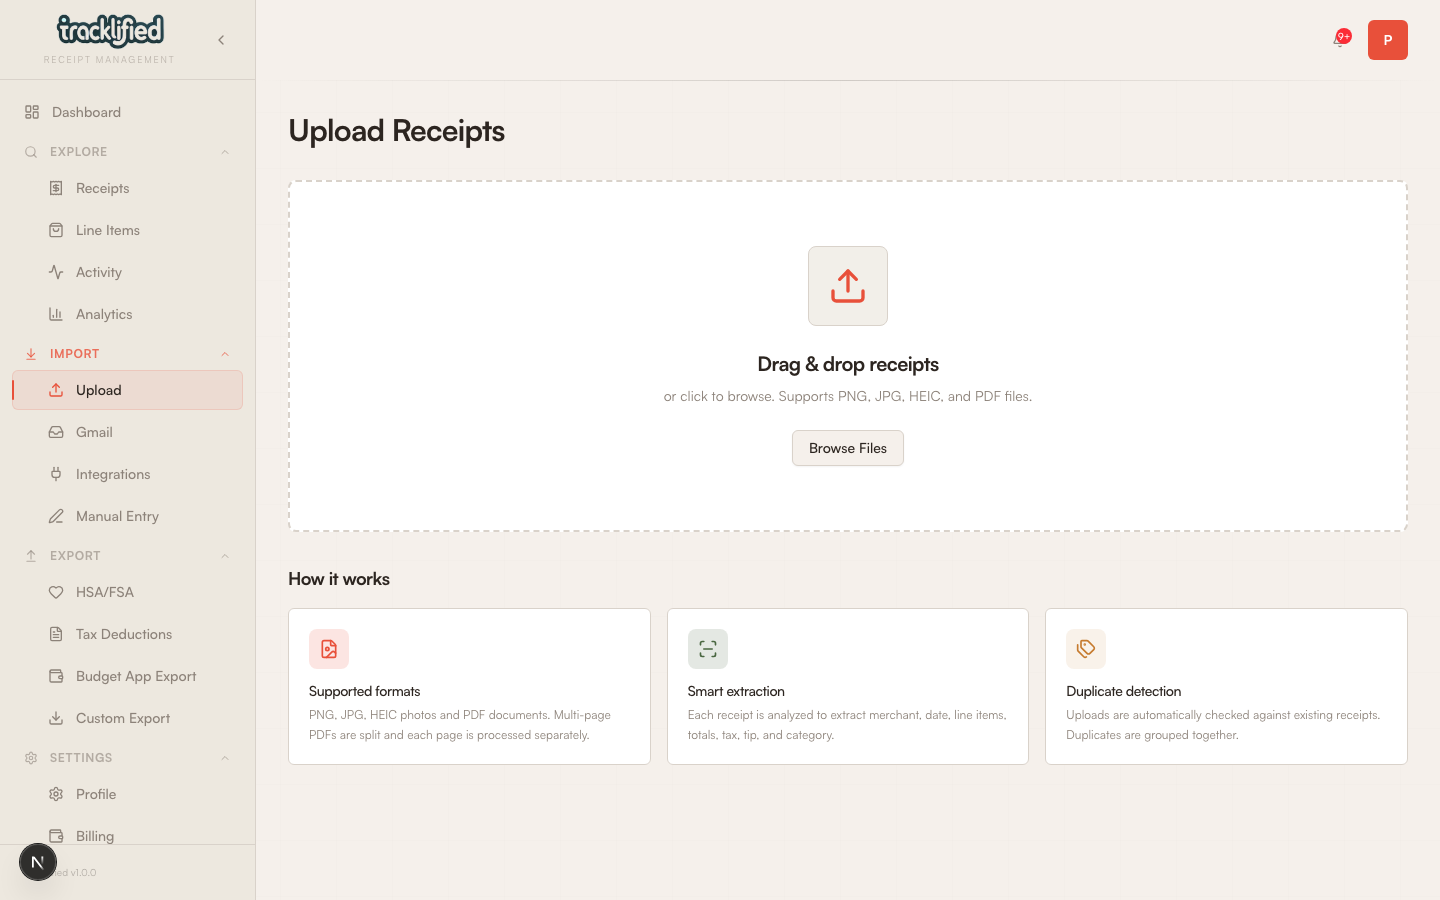
Upload from the web
Go to Upload in the dashboard and drag a file in, or click to browse. Works for photos, PDFs, and screenshots.
What happens next
Every receipt is:
- Saved with merchant, date, and totals extracted by the AI
- Categorized at the line-item level (when the AI can identify line items)
- Searchable by merchant, items, labels, and totals
- Available to export to CSV, XLSX, JSON, ZIP, or your budget app
Receipts with medical items get the HSA/FSA label auto-applied when the AI is confident, and show up on the HSA export page. See Searching your receipts and Exports for what you can do with them.